As the Microsoft connect site is retired, this blog post has been updated to download the resources directly from Life cycle services portal for creating VHD(Virtual hard disk) to setup a VM.
In this blog, I would like to share my experience of configuring Virtual machine(VM) to access Dynamics 365 for Operation instance.
I read through lot of Microsoft articles and other blogs to achieve this…!! I hope after reading this blog you all should be able setup Dynamics 365 for operation VM instance.
Setup Virtual Hard Disk package of Dynamics 365 for Operations
Below are some of the pre-requisites to be considered,
- Access to a Microsoft Dynamics Lifecycle Services (LCS) and required license to access shared asset library data
- Virtualization technology enabled computers (PC or Laptop).
- Minimum 16 GB memory system.
Below are the steps to download ‘Dynamics 365 for Operations’ package,
- Login to Microsoft Dynamics Lifecycle Services (LCS)
- On the right side of the portal, click on ‘Shared asset library’ tile but please note that partner license is required to access the resources in Shared asset library.

- In the asset library, click on ‘Downloadable VHD’
- All the VHD’s are directly available for download

- Each file needs to be downloaded individually by clicking on ‘Name’ hyperlink
- Double click on the exe file(Usually part 1)
- Accept the Microsoft Software License Terms for a Virtual Hard Disk image
- Select the destination folder where the Virtual Hard Disk will be placed and click on Extract

Note: Once the extraction process is complete, the Virtual Hard Disk created in the destination folder.
Setup Virtual machine using Microsoft Hyper-V Manager
It is recommended from Microsoft to give 16 gigabytes (GB) of memory and two virtual processors to VM, however with my experience 12 GB memory is fine. But don’t use dynamic memory allocation.
If you don’t have Microsoft Hyper-V Manager, please follow the instruction below to install
Installation of Hyper-V in Windows Server 2012 or Windows server 2012 R2 by using PowerShell
- Click the Windows Start button and type PowerShell. Right-click PowerShell and click Run as Administrator.
- Run the following command where computer_namerepresents a remote computer on which you want to install Hyper-V. To install Hyper-V directly from a console session, do not include -ComputerName in the command.
Install-WindowsFeature –Name Hyper-V -ComputerName -IncludeManagementTools -Restart
- Click here for more information to enable Hyper-V role in Windows Server 2012 or Windows server 2012 R2
Install the Hyper-V role on Windows 8 or Windows 8.1, Windows 10.0
- Click the Windows Start button and type PowerShell. Right-click PowerShell and Run as Administrator.
- Run the following command.
- When the installation is finished, reboot the computer.
enable-WindowsOptionalFeature -Online -FeatureName Microsoft-Hyper-V –All
- Click here for more information to enable Hyper-V role in Windows Server 2012 or Windows server 2012 R2
- Once we have the Hyper V-Manager ready, create Virtual switch for the network connection inside the VM
Create Virtual Switch:
- Open Hyper-V Manager.
- From the navigation pane of Hyper-V Manager, select the computer running Hyper-V.
- From the Actions pane, click on Virtual Switch Manager
- Select the External virtual switch, click on ‘Create Virtual Switch’

- Upon clicking the ‘Create Virtual Switch’, Enter name: VIR_SWITCH (For this article)
- Select the External network Realtek PCIe GBE Family Controller
- Mark ‘Allow management operation system to share this network adapter’
- Click on Apply and Ok

Note: This is important step to access Dynamics 365 for Operations instance.
Create Virtual Machine:
- Open Hyper-V Manager.
- From the navigation pane of Hyper-V Manager, select the computer running Hyper-V.
- From the Actions pane, click New > Virtual Machine.
- Click Next in the New Virtual Machine wizard.
- On the Specify Name and Location page, type an appropriate name ‘D365TrainingMC’ (Example for this article), Click on Next

- On the Specify Generation page, Choose Generation 1, Click on Next
- On the Assign Memory page, specify memory between 12,288 – 16,384 MB
- On the Configure Networking page, connect the virtual machine to the switch ‘VIR_SWITCH’ you created when you installed Hyper-V.
- On the Connect Virtual Hard Disk, choose Use an existing virtual hard disk and select the VHD location

- On the Summary page, verify your selections and then click Finish.

Connecting to Virtual machine using Microsoft Hyper-V Manager
Before even connecting to virtual machine, make sure virtualization support is turned on in the BIOS settings of your computer or laptop. This setup varies from different computer\laptop brands.
Just do google search to enable virtualization support in your computer, for example if you are using HP laptop use keywords ‘Enable virtualization in HP laptop’
Once the virtualization support is turned on in the BIOS settings successfully,
- Open Hyper-V manager
- Select ‘D365TrainingMC’ VM just created, Right click and Start
- Once VM is started and click on connect

- Go to Action, Click the Ctrl+Alt+Delete button on the toolbar

- Sign in to the VM by using the following credentials:
- User name: Administrator
- Password: pass@word1

Access Dynamics 365 instance using base URL of the local application
Provision the administrator user.
Before accessing you must authenticate your credentials as administrator for the instance, please follow the steps below,
- From the desktop, run the admin user provisioning tool as an administrator (right-click the icon, and then click Run as administrator).
- Enter your email address (Make sure it is Office365 ID or Azure AD credentials), and then click Submit.

Access the instance using the URL of the local application
The user authenticated in the above step can access the instance on the computer by navigating to the base URL: https://usnconeboxax1aos.cloud.onebox.dynamics.com.
- Open internet explorer
- Click on the link above
- Enter your credentials authenticated in the step above

- Now it’s all set to access ‘Dynamics 365 for Operation’ instance

References:
| SI NO | TOPICS | SOURCES |
| 1 | Access Microsoft Dynamics 365 for Operations instances | https://ax.help.dynamics.com/en/wiki/access-microsoft-dynamics-ax-7-instances-2/ |
| 2 | Installation of Hyper-V and creating virtual machine | https://technet.microsoft.com/enus/library/hh846766(v=ws.11).aspx |
Best Regards,
Namith Hosmane
Disclaimer:
This is a personal blog. Any views or opinions represented in this blog are personal and belong solely to the blog owner and do not represent those of people, institutions or organizations that the owner may or may not be associated with in professional or personal capacity, unless explicitly stated. All content provided on this blog is for informational purposes only. This blog makes no representations as to the accuracy or completeness of any information on this site.

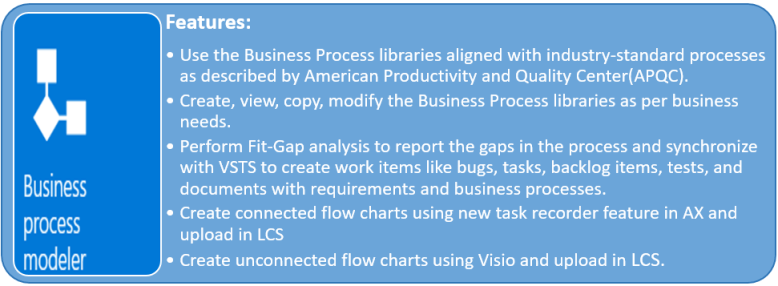


 After click on the Gap list icon, Gap analysis window will be opened to list all the gaps in the core business process and these gaps can be exported to comma-separated file and then can be imported to Visual Studio Team Foundation Server to create work items.


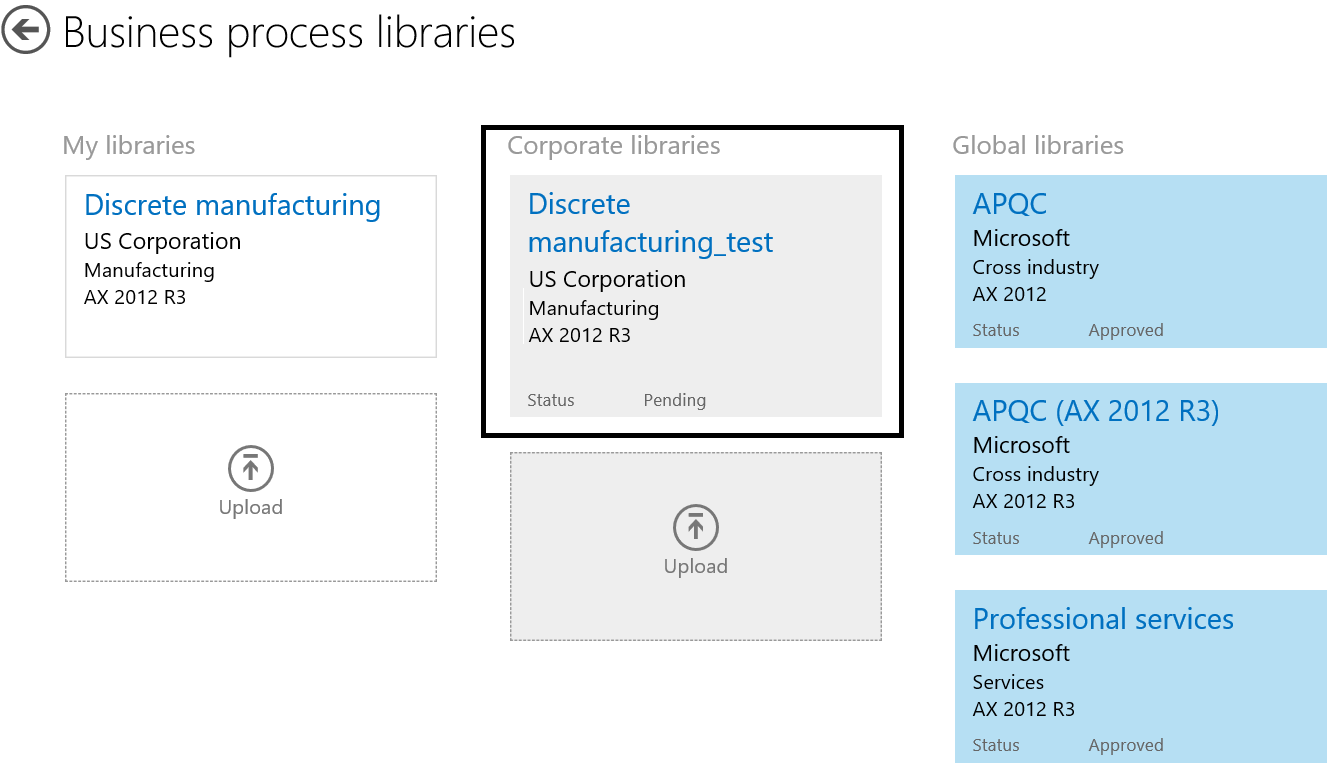
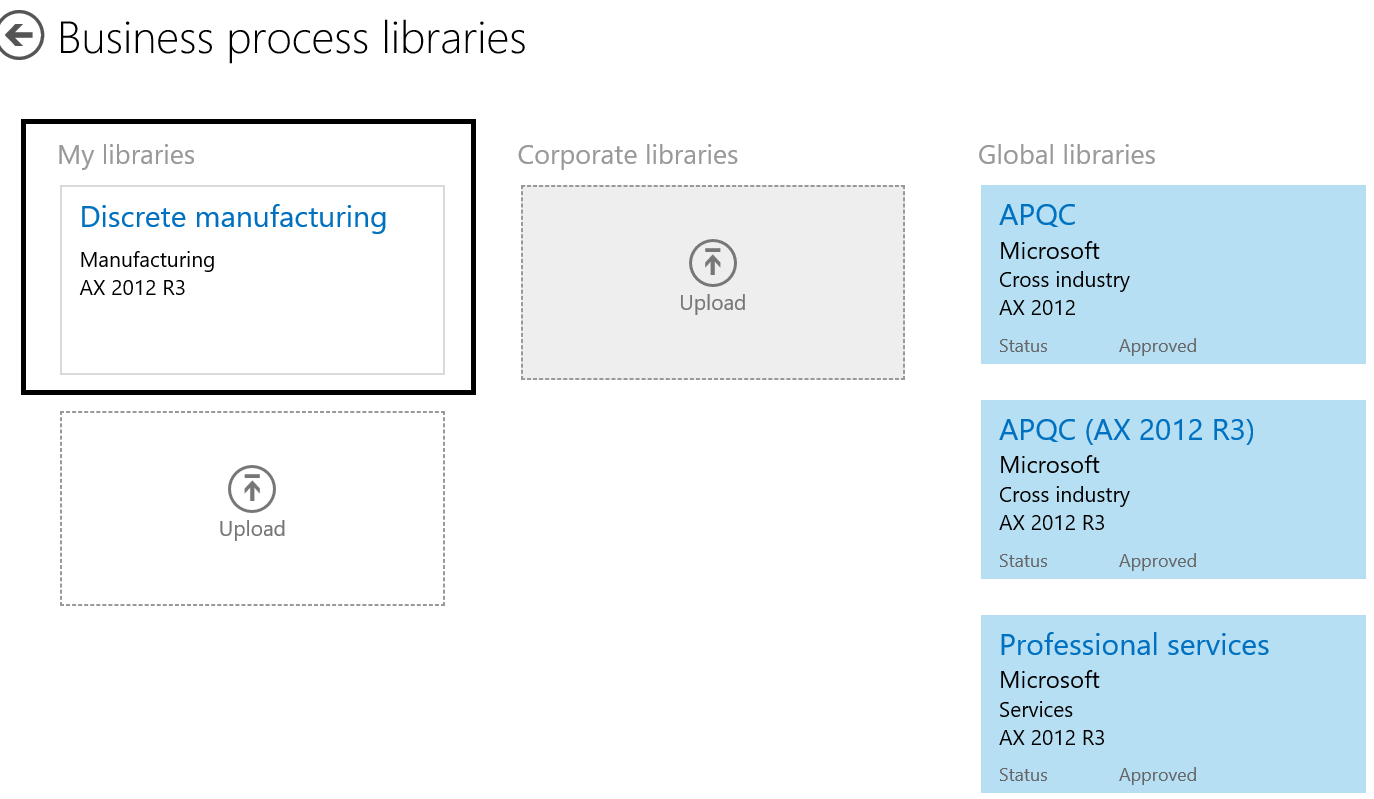
 Publish Business process model
 Once the library is published, it will be available in Corporate libraries section for approval